🤓Static Testing of iOS application
The structure of an IPA file:
IPA files are actually zip packages, so you can change the file extension to .zip and decompress them. A fully packaged app that is ready to be installed is called a Bundle.
After decompressing the file, you should see a file called <NAME>.app, which is a zip archive containing the rest of the resources.
Info.plist: This file contains some application-specific configurations.
_CodeSignature/: This directory contains a plist file with a signature for all the files in the bundle.
Assets.car: This is another zip archive that contains assets such as icons.
Frameworks/: This directory contains native libraries for the app as .dylib or .framework files.
PlugIns/: This directory may contain app extensions as .appex files (not present in all cases).
Core Data: This is used to store permanent data for offline use, cache temporary data, and add undo functionality to the app on a single device. To sync data across multiple devices in a single iCloud account, Core Data automatically mirrors the schema to a CloudKit container.
PkgInfo: This file is an alternate way to specify the type and creator codes for the application or bundle.
en.lproj, fr.proj, Base.lproj: These are language packs containing resources for specific languages, and a default resource in case a language is not supported.


Steps for performing static analysis using Mobile Security Framework (MobSF):
Run the MobSF web interface.
Drag and drop the IPA file (iOS app package file) into the interface and run static analysis.

Once the static analysis is complete, review the results for any misconfigurations or vulnerabilities such as: . Insecure URL schemes . Insecure permissions and ATS misconfiguration . Insecure binary options . Presence of hardcoded sensitive information such as Firebase database or email addresses . Other interesting files that may contain security issues or vulnerabilities.


2. Before we begin manual static analysis, we need to obtain the path of the app on a jailbroken iOS device. To do this, we can use find command just follow these steps:
Just ssh into your ios device and Enter this command
find /var/ -name "*.plist" | grep "DVIA"

On iOS, system applications can be found in the /Applications directory, while user-installed apps are available under /private/var/containers/. However, finding the right folder can be challenging as every app gets a random 128-bit UUID (Universal Unique Identifier) assigned for its directory names.
As you can see, apps have two main locations:
The Bundle directory (/var/containers/Bundle/Application/).
The Data directory (/var/mobile/Containers/Data/Application/).
3. After this is complete ssh into your jailbroken ios device and we are going to use otool to manually check the binary.
Identification of protections are present in the binary:
PIE (Position Independent Executable): When enabled, the application loads into a random memory address every-time it launches, making it harder to predict its initial memory address.
otool -hv <app-binary> | grep PIE #It should include the PIE flag

Stack Canaries: To validate the integrity of the stack, a ‘canary’ value is placed on the stack before calling a function and is validated again once the function ends.
otool -I -v <app-binary> | grep stack_chk #It should include the symbols: stack-chk_guard and stack_chk_fail

ARC (Automatic Reference Counting): To prevent common memory corruption flaws
otool -I -v <app-binary> | grep objc_release #It should include the _objc_release symbol

Encrypted Binary: The binary should be encrypted
otool -arch all -Vl <app-binary> | grep -A5 LC_ENCRYPT #The cryptid should be 1

Identification of Sensitive/Insecure Functions
Weak Hashing Algorithms
otool -I -v <app-binary> | grep -w "_CC_MD5"otool -I -v <app-binary> | grep -w "_CC_SHA1"

Insecure Random Functions
otool -I -v <app-binary> | grep -w "_random"otool -I -v <app-binary> | grep -w "_srand"otool -I -v <app-binary> | grep -w "_rand"

Insecure ‘Malloc’ Function
otool -I -v <app-binary> | grep -w "_malloc"

Insecure and Vulnerable Functions
otool -I -v <app-binary> | grep -w "_gets"otool -I -v <app-binary> | grep -w "_memcpy"otool -I -v <app-binary> | grep -w "_strncpy"otool -I -v <app-binary> | grep -w "_strlen"otool -I -v <app-binary> | grep -w "_vsnprintf"otool -I -v <app-binary> | grep -w "_sscanf"otool -I -v <app-binary> | grep -w "_strtok"otool -I -v <app-binary> | grep -w "_alloca"otool -I -v <app-binary> | grep -w "_sprintf"otool -I -v <app-binary> | grep -w "_printf"otool -I -v <app-binary> | grep -w "_vsprintf"

To ensure accuracy, we also ran the analysis using the MobSF tool and obtained similar results. However, we need to confirm that there are no false positives in the results.
4. Things to check in the Info.plist file.
There are several ways to obtain the Info.plist file:
Unzip the IPA file, then copy the Info.plist file.
On a Linux machine, use the command
plistutil -i Info.plist -o Infoxml.plistto convert the Info.plist file to XML format.

Similarly, you can use the tool ‘objection’ to hook into the application, then use the command
ios plist cat Info.plistto view the contents of the Info.plist file. You can then copy the contents to a new file for further analysis.

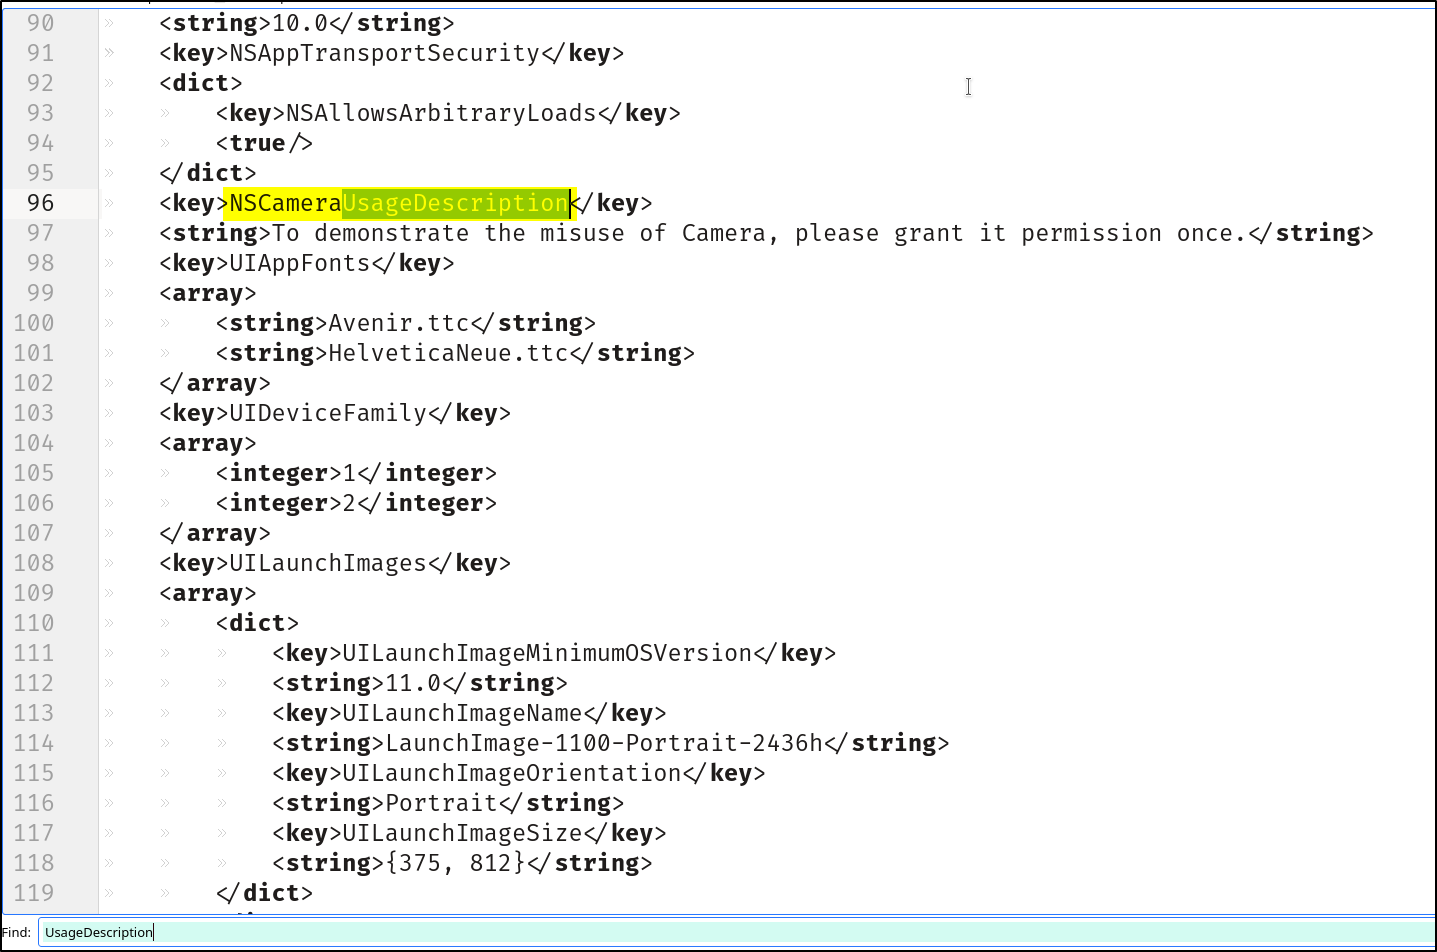
Common things to check in the Info.plist file: Bundle identifier,Bundle version,Supported device types,Required permissions,URL schemes, NSAppTransportSecurity.


Last updated